Does your computer continuously give you pop-ups, even when you are not surfing the internet? Does your computer seem slower than it used to be. Well, one reason could be that your system is plagued with spy-ware and ad-ware. These “applications” are used to collect data about you, your surfing habits, your computers info, as well as give you directed advertising. They can become a nuisance really quickly. This tutorial will walk you through using a free application called Super Anti-Spy-Ware to eliminate those pesky “applications”.
To begin we need to go here to download the software. This link will prompt you to download a file. Save the file to your machine. Once the file completes downloading, run the file that you have.
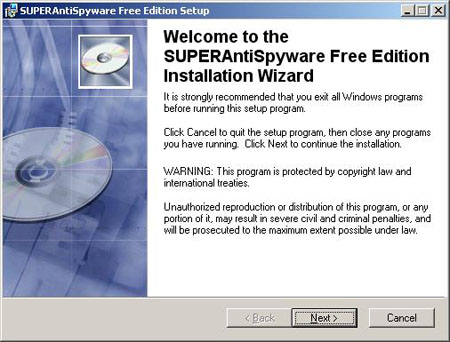
The above window is the “Welcome” window. It tells you not to redistribute and warns that you should close all other applications before continuing. Once you have read the contents, click next to continue.
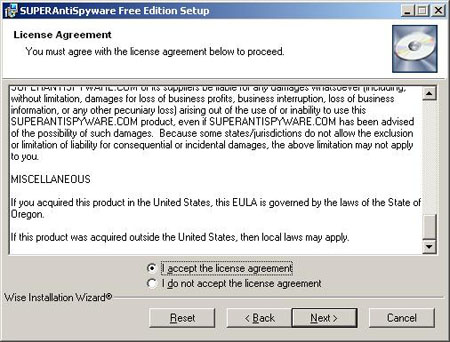
The next window you will see is the above License Agreement window. Once you have completed going through the license agreement, you need to click “I Agree” and then click next to continue.
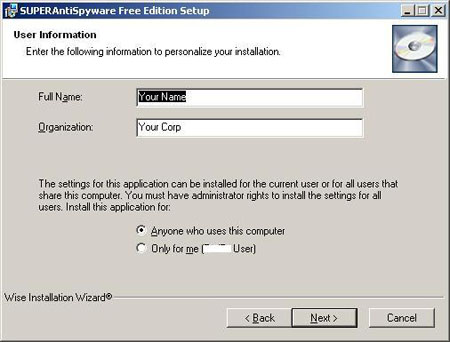
This window prompts for your information to install the application. Just wants your name and the organization that you work for. You can also pick to install the application for all users of the machine, or just for the one your currently using. Once you have selected that and filled in the information, click on next to continue.
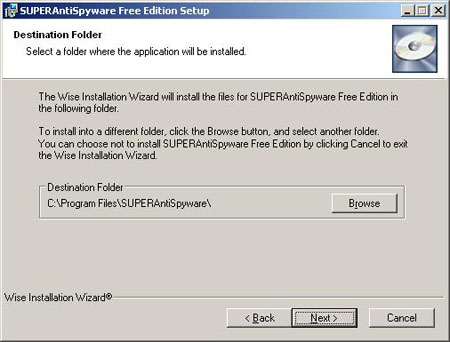
This next window shows you were the program files will be stored. If you would like to change it, click on the browse button and select your destination, otherwise, leave the default value there.
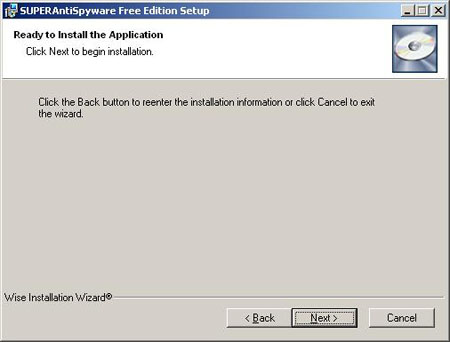
This window is the final window before the installation begins. Click on next to start the installation.
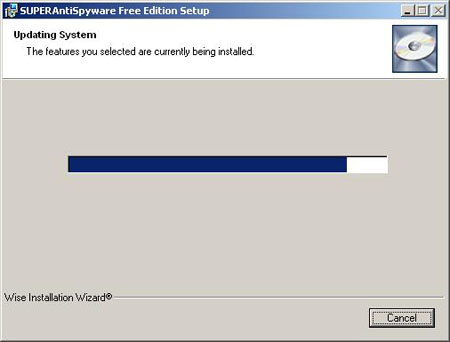
This window is the installation window.
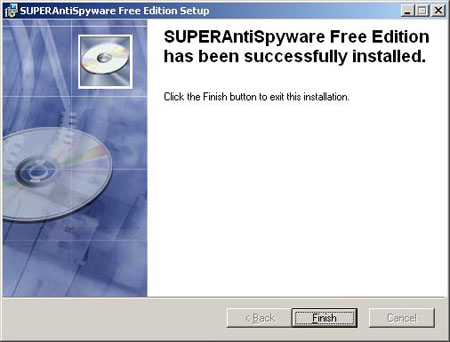
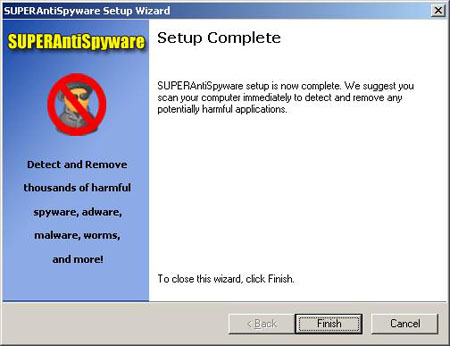
This window will show after the installation to inform you that the installation was successful.
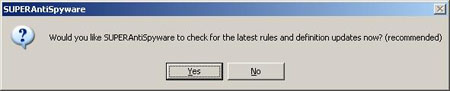
The first time the application is run, you will get the above alert box. You can click on yes to go through the update process.

You will see the above icon down by the clock in order to see that Super Anti-Spyware is running on the system. Click next to continue.
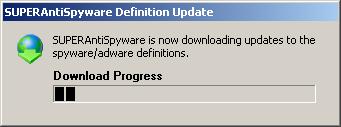
This window will show you the download the update for the application. This update will give the latest in Spyware defense.
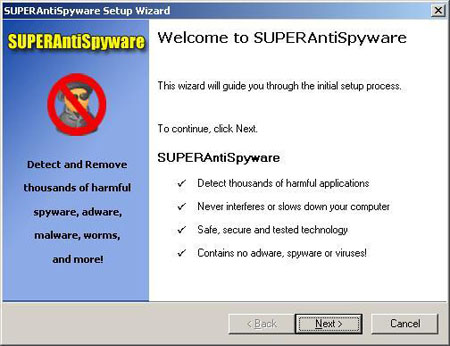
This is the first part of the configuration wizard. It just shows some of the basic features that this application will run. Click next to continue.
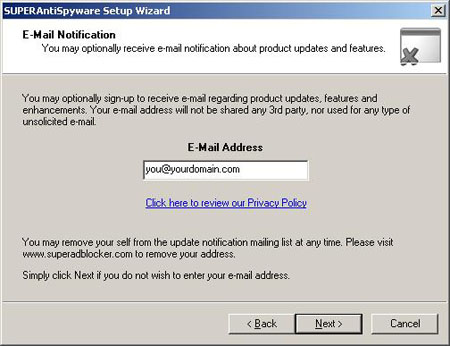
This window will allow you to put in your e-mail address to receive notifaction of new versions and updates. This also gives you a link in order to view the Privacy Policy. Click next to continue.
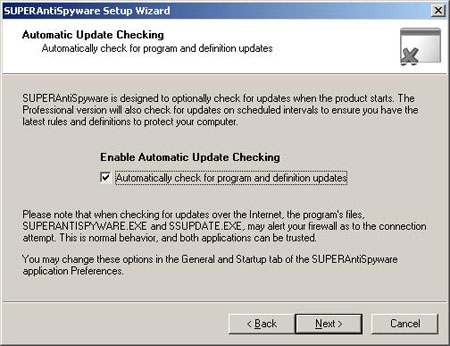
This window asks if you would like the application to check for updates automatically. While you are connected to the internet the application will check the server for updates and download them automatically. Click next to continue.
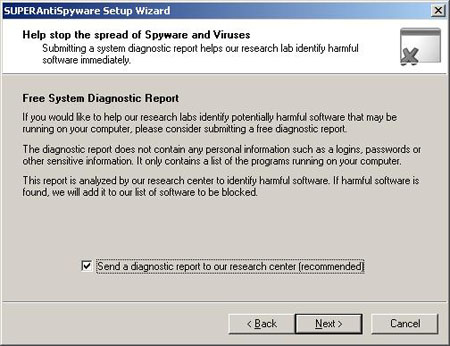
This window asks if you would like to send an anonymous report about your computer. When you scan your computer it will send the results to there server for review. This helps them to determine the most common types and the best way to prevent them. Click next to continue.
This is the last window for the configuration wizard. Click on finish to complete it.
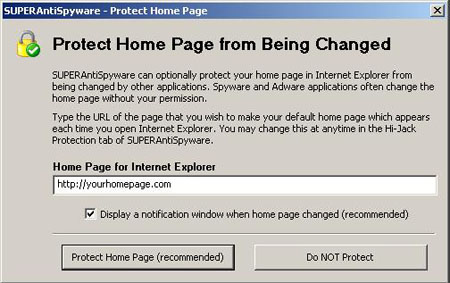
This window asks if you would like to protect your homepage. This will prevent any spyware (or other user) to change your homepage. If it changes or is attempted to change, the program will alert you and ask if you would like to change it.
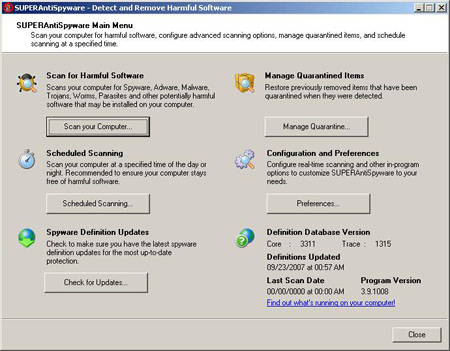
This is the main application window. From here you can do your system scan. Click on Scan Computer to go to the scan screen. It also shows your last update time, as well as the last time you ran a system scan.
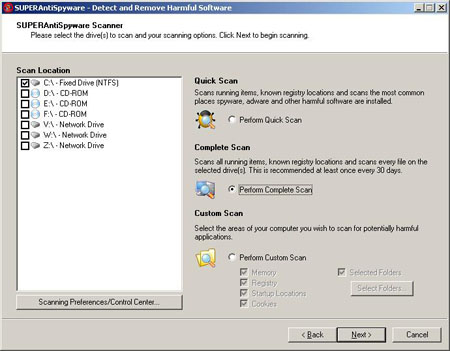
This is the Scan Computer screen. It allows you to change your options for scanning. If you have more than one drive you would like to scan, check the box for that drive. Check the box to the right that says Perform Complete Scan, and then click on next to begin the scan.
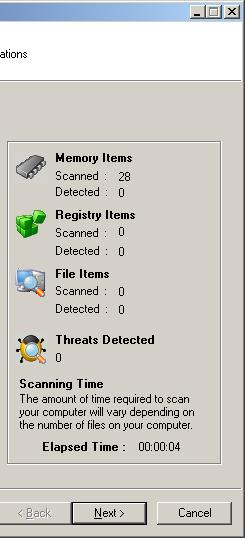
This is the right of the scan window. It will show you how many files, keys, and memory has been scanned and how many threats have been found.
My computer did not find any threats, so there were no threats to clear, but once they appear you can click on next and the application will allow you to select the ones you would like to remove. I have had computers that had over 11,000 viruses, adware, and spyware. In this case this application would freeze half-way through the scan (due to it storing too much information in the pagefile). If this happens to you you can try increasing your page file of your computer by following this tutorial. If it still freezes, you can stop during the scan. You have the ability to click next to remove the threats before the scan is completed. This will allow you to reomve what it has found so far and reboot to clear your page file. This concludes this tutorial. I hope it was easy to follow. Thanks for reading.