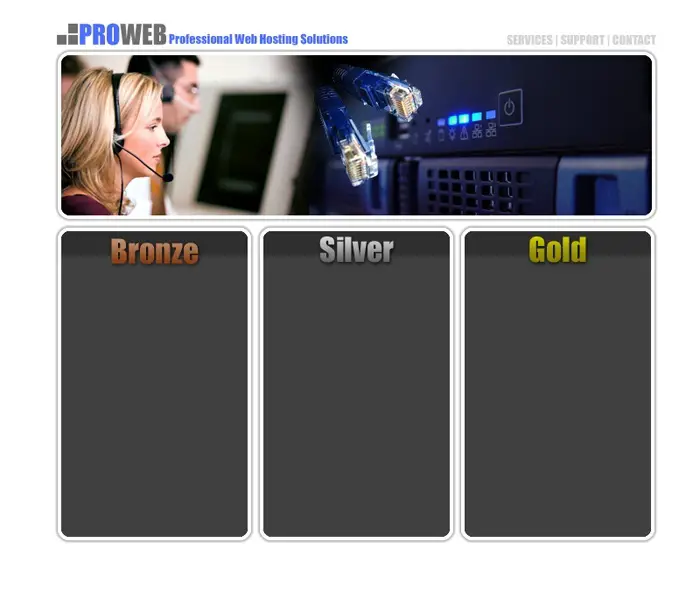
This tutorial will show you how to create a layout for a web hosting company using Adobe Photoshop.
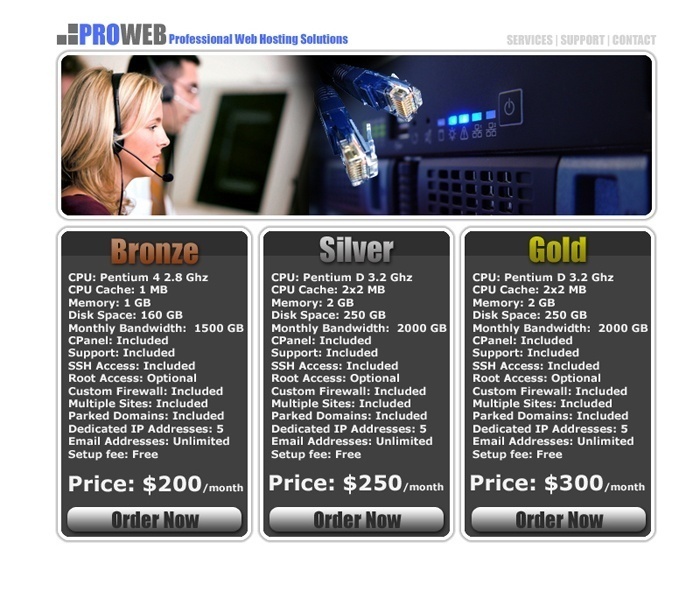
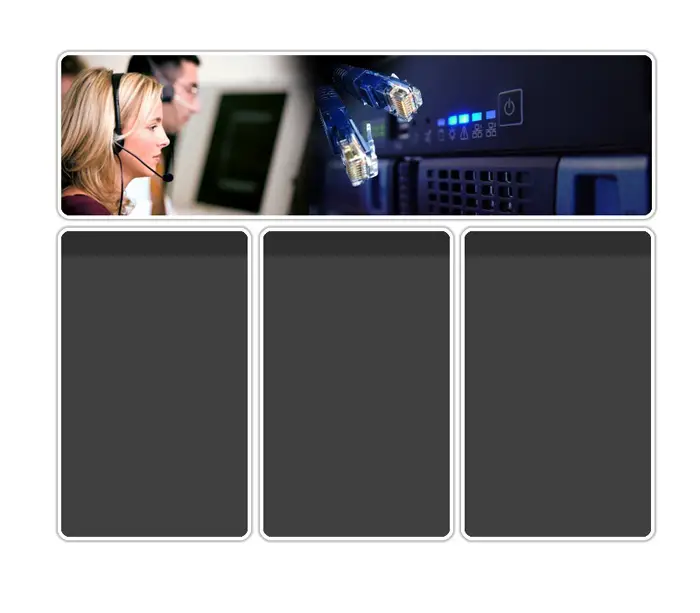
This is what the finished product will look like
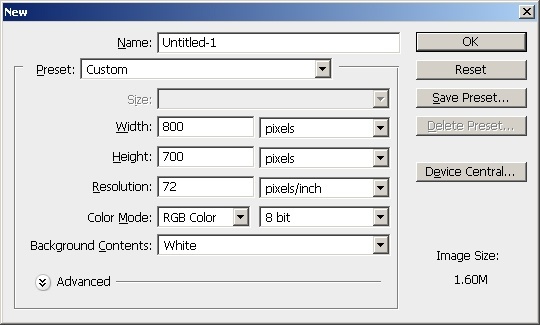
Open a New Document 800×700 with white as your background color
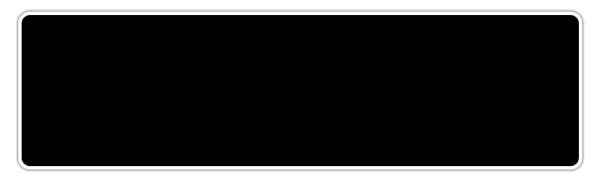
Create a new layer. Using the rounded rectangle tool, with a 10px corner radius, draw a square in the middle of the page.

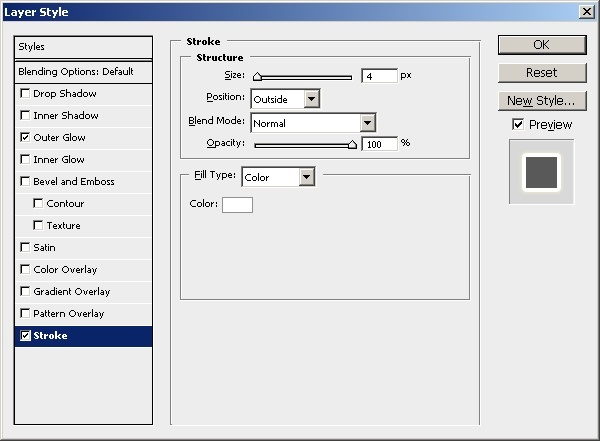
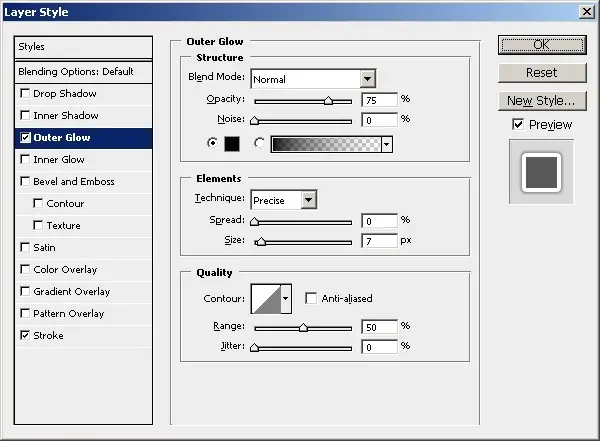
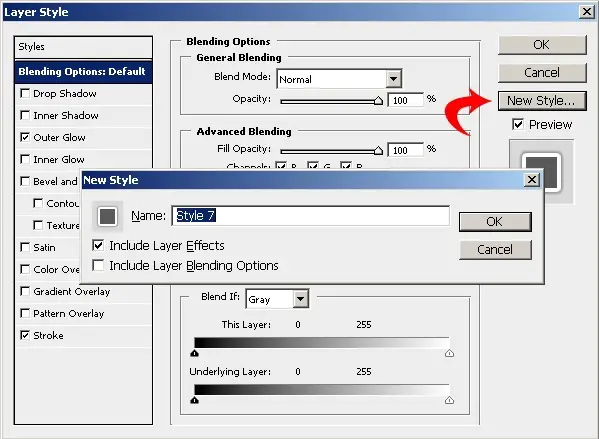
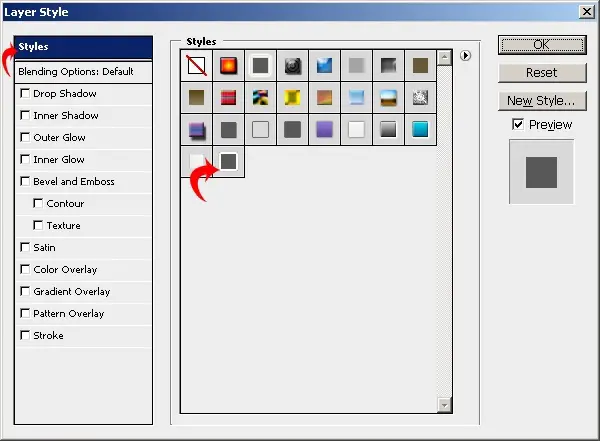
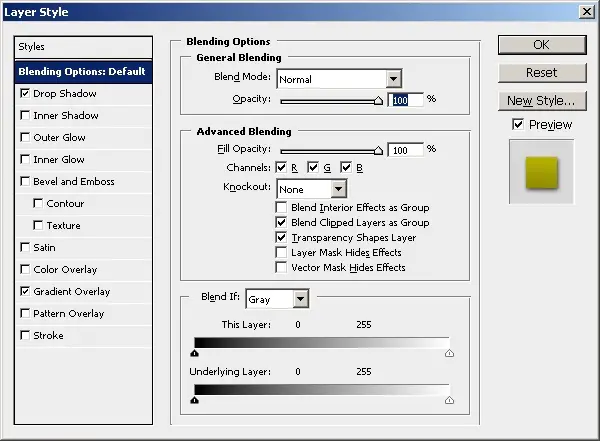
Right click on the layer and select blending options. Apply the following Layer Styles:
Stroke
Outer Glow
Save these settings to use them later by clicking the New Style button. When the box pops up name your style and save it.
Your image should look something like this.
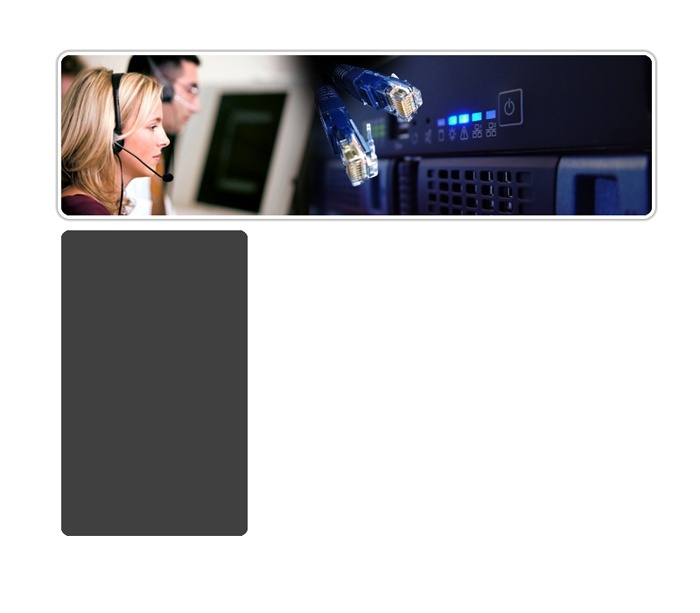
Ok now you will need to download the following graphics so you can add them to the header. These are all available for free from sxc.hu.


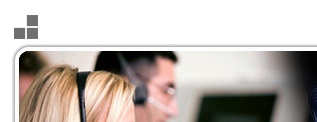
Ok now that you have the images saved to your hard drive you can open them in Photoshop. Copy and paste the call center image into the layout document. On the menu in Photoshop go to Edit > Transform > Flip Horizontal. You image should look like this

Now go to Edit > Scale and scale the picture so it is just slightly bigger than our rounded box.

Now CTR+Click on the layer with the rounded rectangle to select it. Then click on the layer for our call center picture. Your selection should look like this.
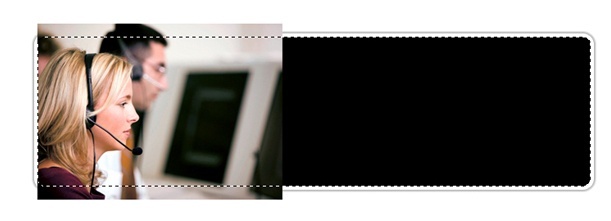
On the Photoshop Menu go to Select > Inverse and then press the delete key. You image should now look like this.

Now use the eraser tool with a 100px soft brush and fade the edges of the image so that it looks like this.

Now ad the server picture and scale it like we did above. Also ctrl + click on the rounded rectangle layer and select inverse and delete the rest. Then use the eraser to fad the picture so that you get something like the picture below.

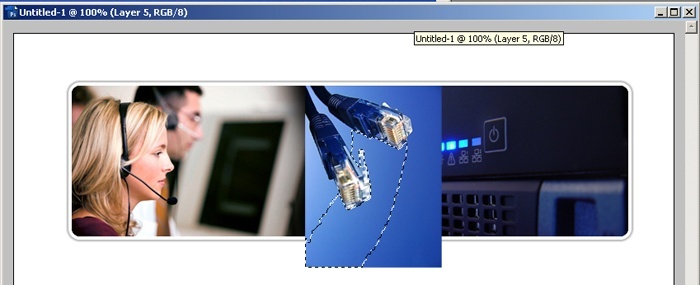
Now add the Cable image. You will want to rotate it 90 degrees clockwise. On the Photoshop menu go to Edit > Transform > Rotate 90 CW. Then Scale your image.

Now use the Magic Wand with tolerance set to 25, make a selection on the blue area of the cable picture.
Use the delete key to get rid of that section. Repeat this until all of the blue area is gone. I also used the eraser tool to fade the top of the cables out.

Now Create a new layer. Draw another rounded rectangle like the one below.
Now apply the layer style that you saved earlier. Right click on the layer and go to blending options. Click style on the side and then select the style that you saved and click ok.
Now CTRL+Click on the layer with the new box to select the box. Now use the marquee tool and hold down the alt key and drag the selection over the lower part of the box.
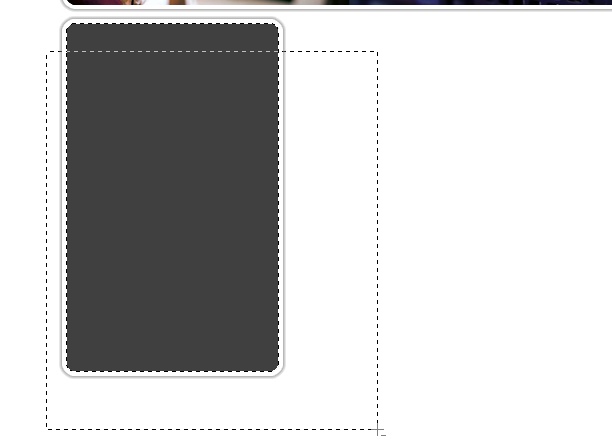
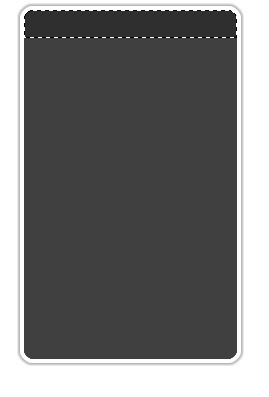
Let go of the mouse button and you selection should look like this. Fill the selection with #2f2f2f by selecting it as your foreground color and pressing alt+backspace.
Now right click on the layer and duplicate the layer 3 times. Move the layers to the right using the arrow tool so that you get this.
Create a new layer. Using the rectangle marquee tool create three small squares above the header graphic and fill them with #6f6f6f.
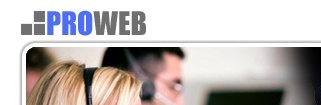
Now select the text tool. The font I used was Impact 30 point and the color for the word “pro” is #4d6dff and the word “web” is#6f6f6f.
Now use the text tool to add the tag line using Impact 14pt font and color #4d6dff.

Add the links on the right using the same Impact 14pt font with the color#d4d4d4.

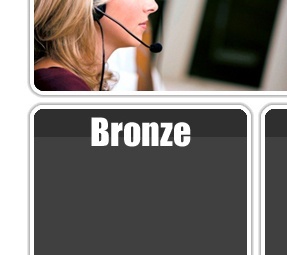
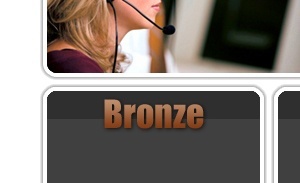
The site is looking pretty good this far. Now we will need to add the hosting plan information. Select the first grey box layer from the layers pallet on the right of the screen. Now add the word Bronze using Impact 36pt font.
Apply the following blending options to the bronze layer:
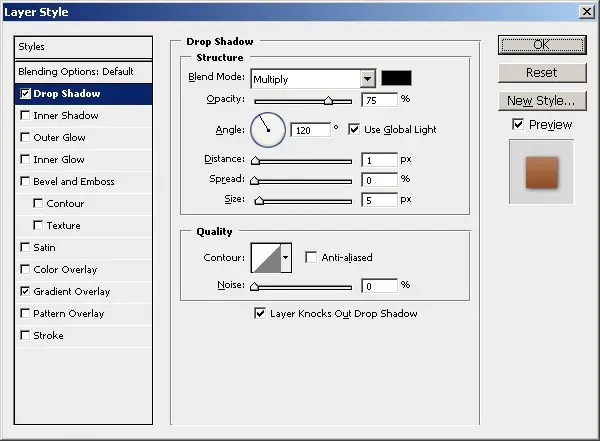
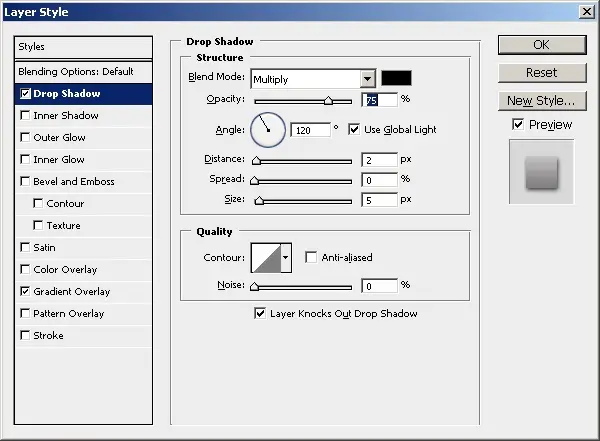
Drop Shadow
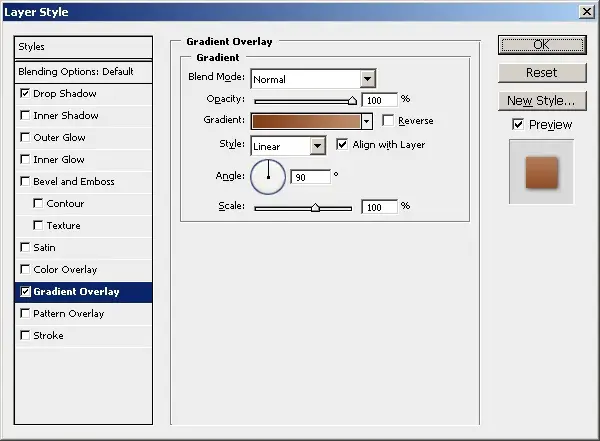
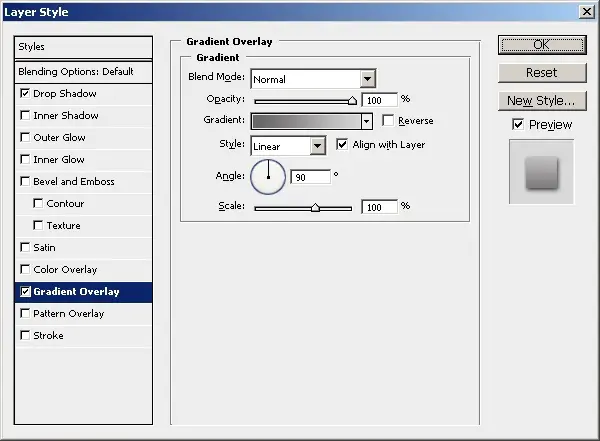
Gradient overlay
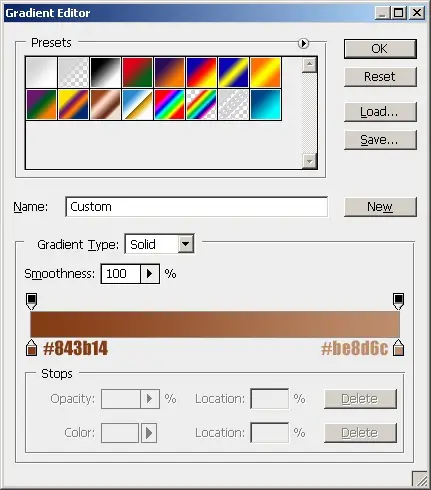
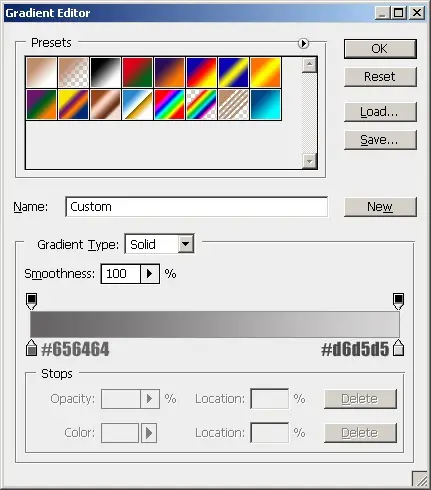
Here is the gradient settings. (double click on the bar next to “Gradient:” in the picture above to get to this window)
Apply the changes and you should get this.
Now click select the next box in the layers pallet and add the word silver in the same font. Apply these layer styles:
Drop shadow:
Gradient Overlay:
Here is the Silver gradient:
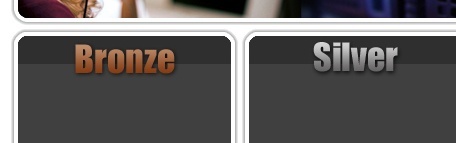
This is what your text should look like
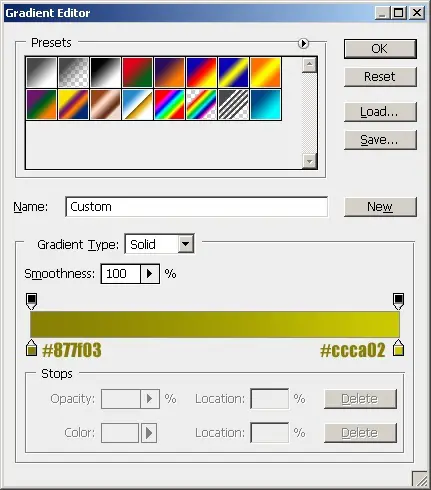
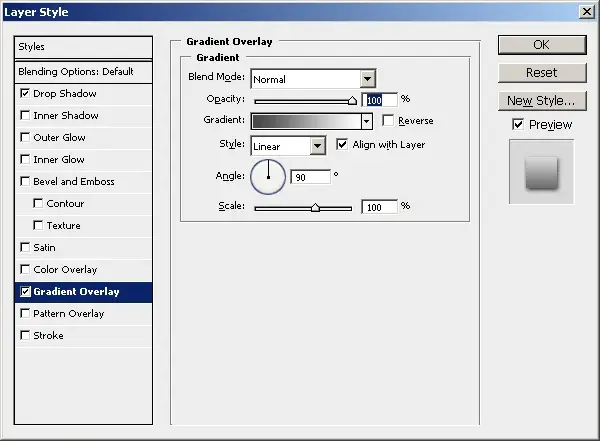
Now add the gold header and apply the following layer styles:
Drop shadow
Gradient Overlay:
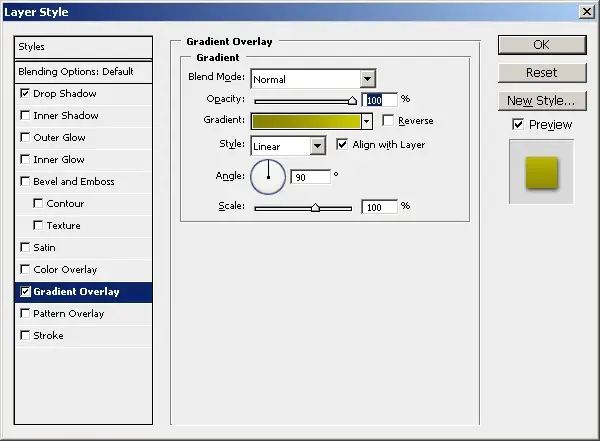
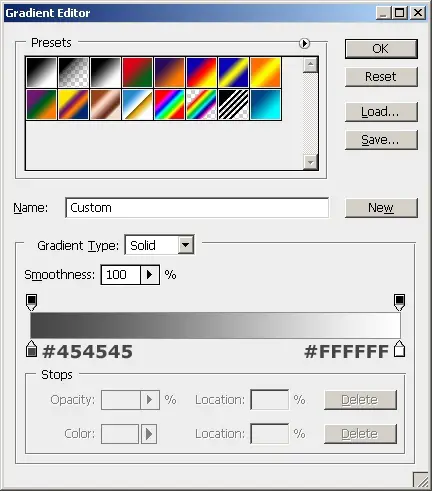
Here are the gradient colors
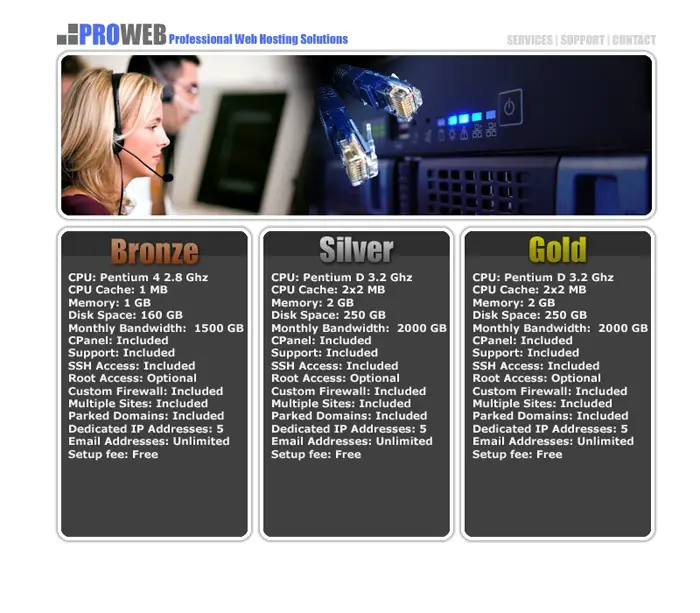
So now the layout should be looking something like this.
Now add the information for the hosting plans. For the features I will use Verdana Bold 12pt with #FFFFF as the color.
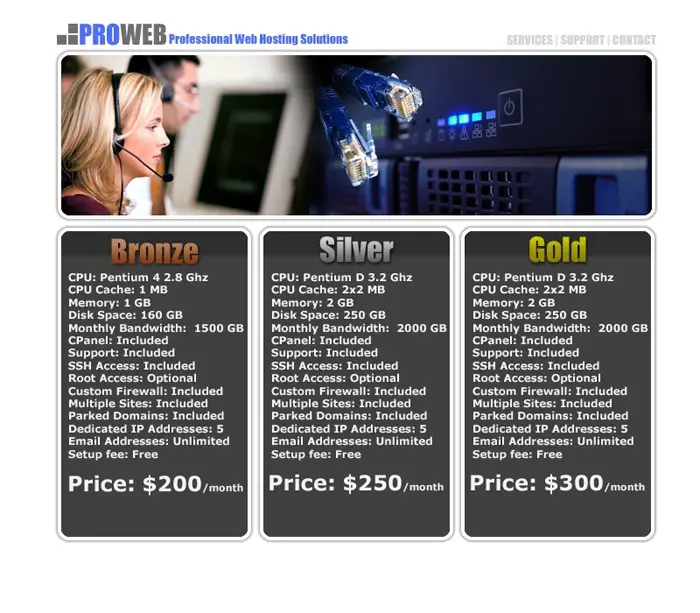
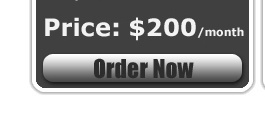
Now I will add the prices in a larger font the prices are Verdana 24pt bold and the word month is 11pt.
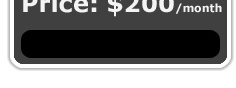
For the last step we will add the Order button. Create a new layer. Using the rounded rectangle tool with a 10px radius draw a rectangle like below.
Apply these blending options.
Drop Shadow
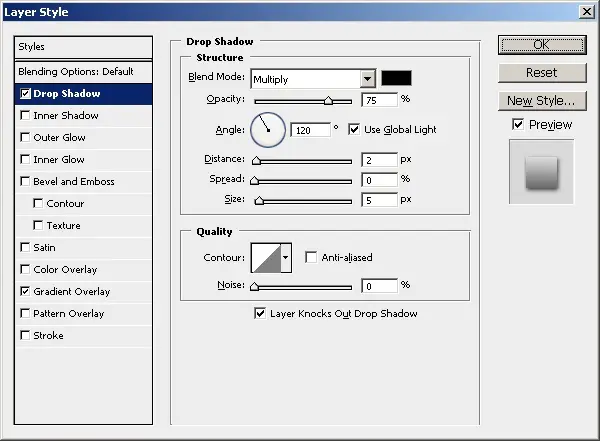
Gradient Overlay
Here is the gradient
Now add the words “Order Now” using Impact 24pt and color #2D2D2D.
Now Duplicate the layers and move them to the other squares. The finished product should look like this.