11.24.2009

Downloading and Installing Heidi SQL

Recently, John and I have been doing a lot of database work using MySQL and have had to connect to several large databases and manage them correctly. This can be a daunting task without a tool to easily do so. This is where Heidi SQL comes in. This tutorial will walk you through downloading, installing, and configuring Heidi SQL to use against your MySQL databases.

Let’s begin by going to Heidi’s download page and downloading the installer.

installing_heidi_sql_01

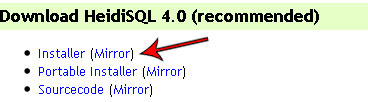
Once the site loads, you will see the link to download the installer as shown above. Click on that link and save the file somewhere on your computer so that you can install it.

installing_heidi_sql_02

This is what the downloaded installer should look like. Double-click on it to start the installation process.

installing_heidi_sql_03

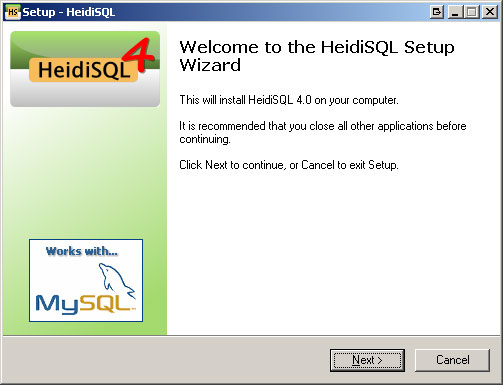
This is the welcome screen. Click on Next.

installing_heidi_sql_04

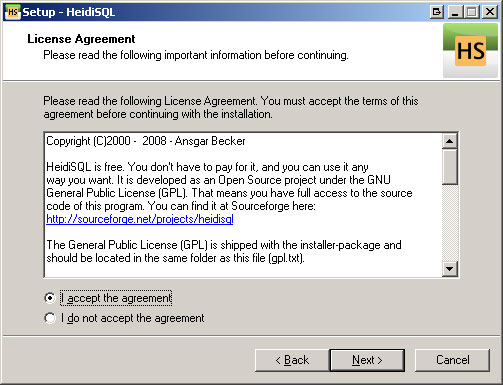
Read the agreement and check the radial button to accept the terms and then click on next. Click on Next.

installing_heidi_sql_05

This is where to install the files for the application. Leave this default if you are unsure of where to put them. Click on Next.

installing_heidi_sql_06

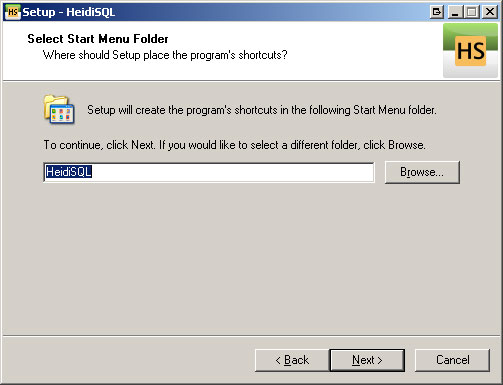
This is where you can pick what it names the start folder in the Start Menu where the application shortcuts will be located. Click on Next.

installing_heidi_sql_07

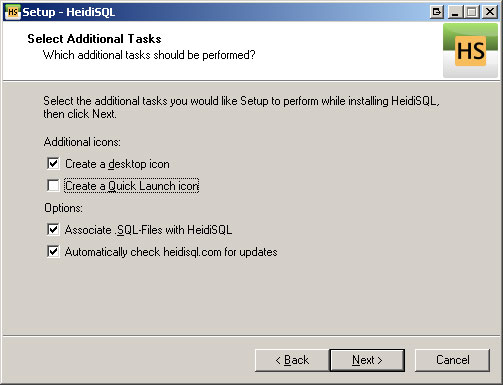
This screen will allow you to select the additional options you would like such as desktop and quick launch icons. Click on Next.

installing_heidi_sql_08

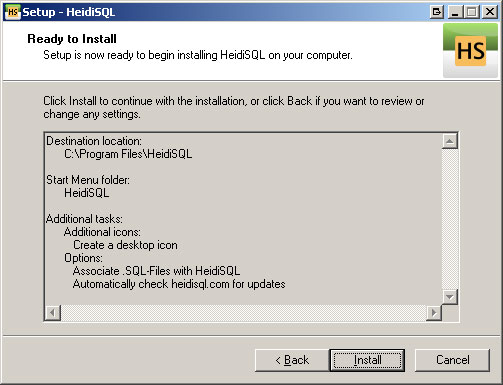
This is the final screen before installation will occur. Review the settings and ensure they are all correct. Click on next to start the installation.

installing_heidi_sql_09

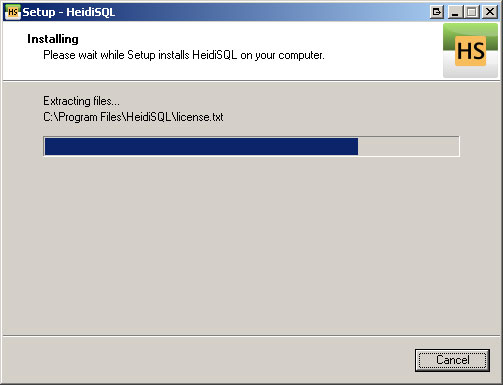
You will see the above screen while the installation completes. It should only take a few seconds.

installing_heidi_sql_10

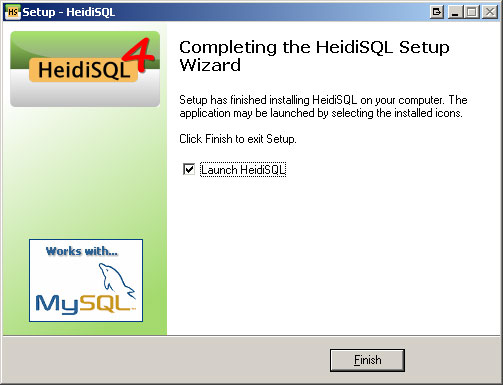
Once installation is complete, you will get the screen. Keep the box checked to launch as soon as you hit finish.

installing_heidi_sql_11

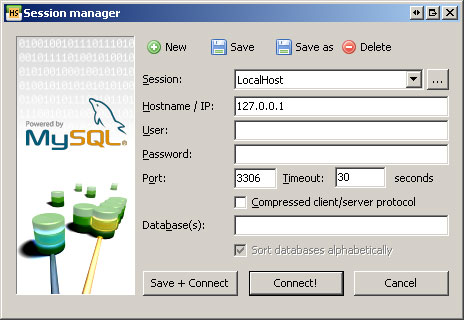
This is the connection manager. You can add several databases to the application and manage them by selecting them here. You can also enter the information for a one time connection. To create a connection that you will save, click on New at the top of the screen.

installing_heidi_sql_12

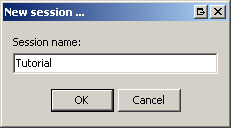
This box will pop up asking what you want to name the session. I named mine Tutorial. Click on OK to continue. It will now take you back to the main screen to fill in the options for the connection.

installing_heidi_sql_13

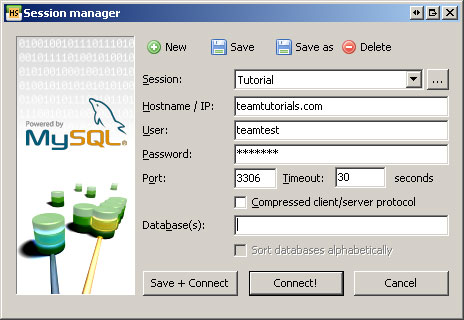
Fill in the fields with the information. The default port for MySQL is 3306. Once the information is all filled out, click on Save + Connect and it will connect you to the database as well as save it for the next time.
*Note: If you are unable to connect, you will need to configure your server to allow incoming connections and/or contact your host. MySQL does not allow remote connection by default and will need to be configured to do so.

installing_heidi_sql_14

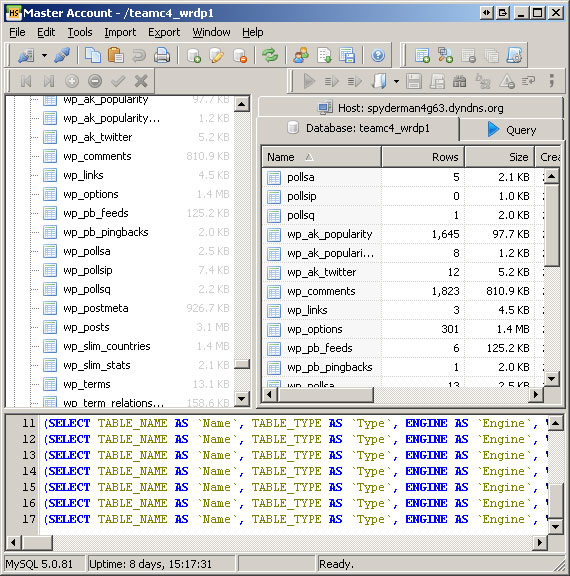
This is the main window of Heidi. The left pane is the server you are connected to as well as the databases it contains. The pane on the right it the information pane that will change based on what you have selected on the left. It will allow you to browse the data, view the settings, and write queries to run against the databases. The bottom pane is the log pane and it will show you what the application is currently during.

That concludes this tutorial. Heidi is a powerful tool with everything you need to manage, manipulate, and update your MySQL database. Play around with it and get used to it and you won’t regret it. Thanks for reading.

Related Posts

Comments

  1. football on December 3, 2009 at 12:02 am

    Wow!!Thats really a great suggestion to Downloading and Installing Heidi SQL with step by step.Downloading, installing and configuring is very simple and HeidiSQL is quickly running on your machine. Through the hierarchy on the left hand side – you can easily navigate the different database obejcts of your MySQL databases.

    [Reply]

  2. MAICLE on December 10, 2009 at 3:43 am

    Great idea, i used a mysql database to all my system. thanks for the free software

    [Reply]

  3. MAICLE on December 10, 2009 at 3:57 am

    For me the mysql is the best database it is easily manage and maintain. The best features of mysql is backup and restore data and easy to handle data. Your the man thanks for sharing

    [Reply]

  4. MAICLE on December 10, 2009 at 4:03 am

    You got the nice feature in instruction of install HeidiSQL the step by step is the best way to learn. it is easy to configure and running to machine.

    [Reply]

  5. football on January 5, 2010 at 7:00 am

    HeidiSQL’s query editor features field suggestion and completion – making work with any database a trivial task and limits the number of errors related to typing errors. Additional features of HeidiSQL includes import and export of databases, user management and more.

    [Reply]

  6. web design brisbane on January 18, 2010 at 4:34 am

    When you download a file, your computer saves a copy of the file to your hard drive. It doesn’t do anything with it, it’s just another file sitting on your hard drive.

    [Reply]

  7. motocross clothing on February 1, 2010 at 5:35 am

    The reason this might be done in a classroom setting is that it allows the instructor to easily reset SQL Server back to a known state when the class is done. The instructor would just save a “clean” copy of the VM and reload it onto each machine after the class.

    [Reply]

  8. web design brisbane on March 2, 2010 at 5:14 am

    These IDs are typically baked into the data as part of the build process, but can also be used directly in the code in the exact same way as was outlined in “Practical Hash IDs”. Note here that what we are doing is not a run-time process.

    [Reply]

  9. landscape installation on March 25, 2010 at 7:09 am

    I have been doing a lot of database work using MySQL and have had to connect to several large databases and manage them correctly. This can be a daunting task without a tool to easily do so. This is where Heidi SQL comes in.

    [Reply]

  10. football on April 1, 2010 at 3:07 am

    Which one is better? If you prefer Navicat, can anyone give me a crack of Navicat 8?

    [Reply]

  11. web design brisbane on April 1, 2010 at 5:30 am

    You mention that JDeveloper “installed WebLogic”: the WebLogic container bundled with JDeveloper is a stripped down special version of WLS meant for Java and ADF deployment only. It is not sufficient to install SOA. Is that the WLS you were trying to configure for SOA? If so, please download the full version of WLS as per the above instructions instead.

    [Reply]

  12. talonecl on April 9, 2010 at 6:21 am

    It is easy to understand the document describes how you can download and setup a few pieces of necessary. Thanks for sharing.

    [Reply]

  13. talonecl on April 9, 2010 at 6:24 am

    And quickly start compiling your own version of HeidiSQL.

    [Reply]

  14. gitedupa on April 9, 2010 at 6:26 am

    Is it possible to have them both installed on the same server?

    [Reply]

  15. gitedupa on April 9, 2010 at 6:26 am

    We’ve tried to make this guide as easy to read as possible.

    [Reply]

  16. mircelil on April 9, 2010 at 6:28 am

    If something is unclear, or you have questions regarding how the project.

    [Reply]

  17. mircelil on April 9, 2010 at 6:29 am

    They can be reached via the project’s general mailing list.

    [Reply]

  18. cestrans on April 9, 2010 at 6:30 am

    I am worried about potentially losing my customers email accounts.

    [Reply]

  19. cestrans on April 9, 2010 at 6:31 am

    it can fix some AVs around ListTables by reintroducing recently deleted connection.

    [Reply]

  20. yumidanc on April 9, 2010 at 6:32 am

    I’m afraid I only know enough about databases to get WordPress up and running.

    [Reply]

  21. yumidanc on April 9, 2010 at 6:33 am

    All other necessities and dependencies used by HeidiSQL.

    [Reply]

  22. namcoa on April 9, 2010 at 6:34 am

    I have done a search for known issues but would rather ask at the official HMail forums.

    [Reply]

  23. namcoa on April 9, 2010 at 6:35 am

    It also included in both the Subversion repository and the source package.

    [Reply]

  24. jvpokc on April 9, 2010 at 6:36 am

    But the V4 of hMail uses a built in version of MySQL by default.

    [Reply]

  25. jvpokc on April 9, 2010 at 6:37 am

    Required in cases where cache is cleared or refreshed.

    [Reply]

  26. inchesaw on April 9, 2010 at 6:38 am

    The delphi is a graphical user interface for developing code.

    [Reply]

  27. inchesaw on April 9, 2010 at 6:39 am

    If you install another copy of MySQL on your server it won’t interfere.

    [Reply]

  28. gopeters on April 9, 2010 at 6:42 am

    It also the Delphi was the original name for Borland’s IDE products. Thanks for sharing this info.

    [Reply]

  29. gopeters on April 9, 2010 at 6:46 am

    Thank you, I will install MySQL to use wordpress.

    [Reply]

  30. panche on April 9, 2010 at 6:51 am

    I think this is part of the IDE that deals with code in the Pascal language. This is great article you have.

    [Reply]

  31. panche on April 9, 2010 at 6:53 am

    The reason I was asking about installing MySQL seperately is that when I create a database and user in HeidiSQL the wordpress installation.

    [Reply]

  32. IT Help Desk on May 31, 2010 at 4:47 am

    When i try to make a connection. It replies with an error

    SQL error: Can’t connect to MySQL server on ’127.0.0.1′ (10061)

    please give me suitable suggestion as soon as possible.

    [Reply]