
In in this tutorial we’re going to set up a local WordPress installation on our desktop environment for testing and development purposes. This installation is going to be an out-of-the-box WordPress installation with the default files and a new database. We’re going to use a newer tool called Local by FlyWheel. Local is a tool that will allow you to easily create WordPress instances on your desktop. It will install WordPress, configure the Nginx web server, create and host the MySQL database, and give you a local hostname to access your WordPress site. It also allows you to manage several different local WordPress installations on one desktop. This software is available for Mac, Windows, and various flavors of Linux.
Download and Install Local by FlyWheel
First, go to localbyflywheel.com and click on the “download” button. A box will pop up asking you to select your platform. I’m doing this tutorial on my Mac so I will select Mac. You can also choose Windows, Debian based Linux or RedHat based Linux.

Next, you will get asked for some information. Fill out your personal information and click the “get it now” button. Your download will begin.

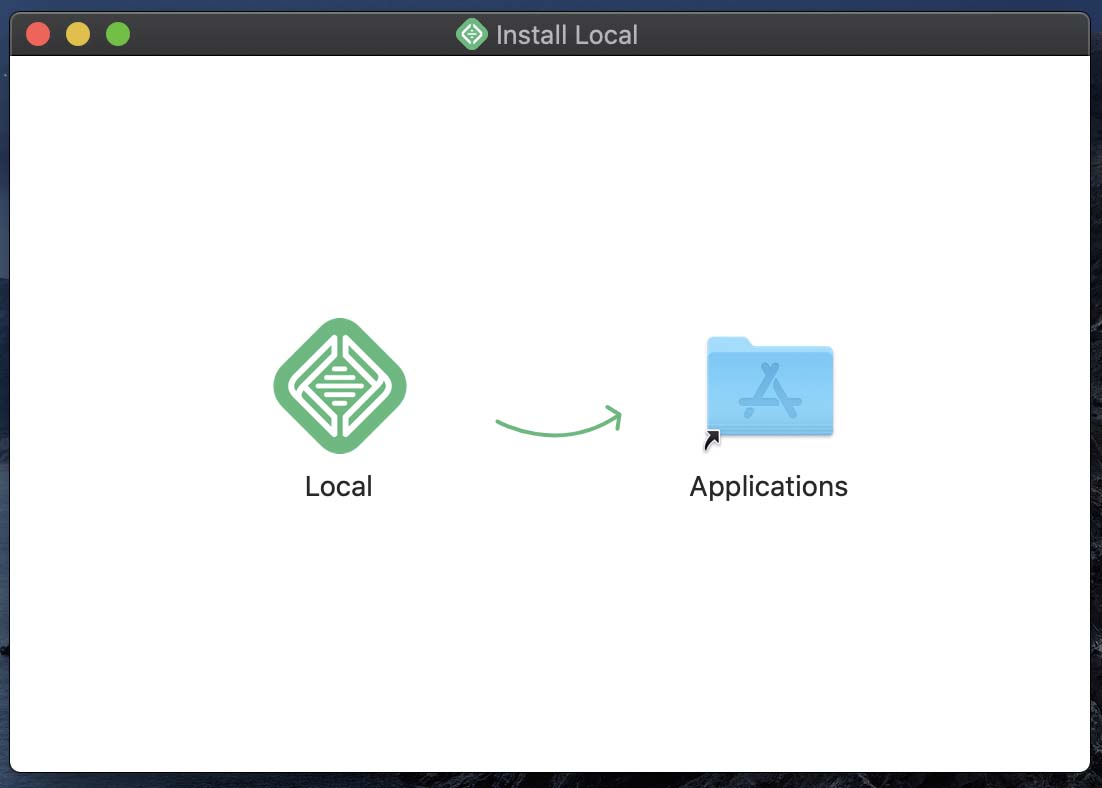
Once your download completes launching the installer and then follow the instructions to install the software. Just pick the default options if you are given a choice. On my Mac I simply drag the application icon to your applications folder.
Creating Your Local WordPress Installation
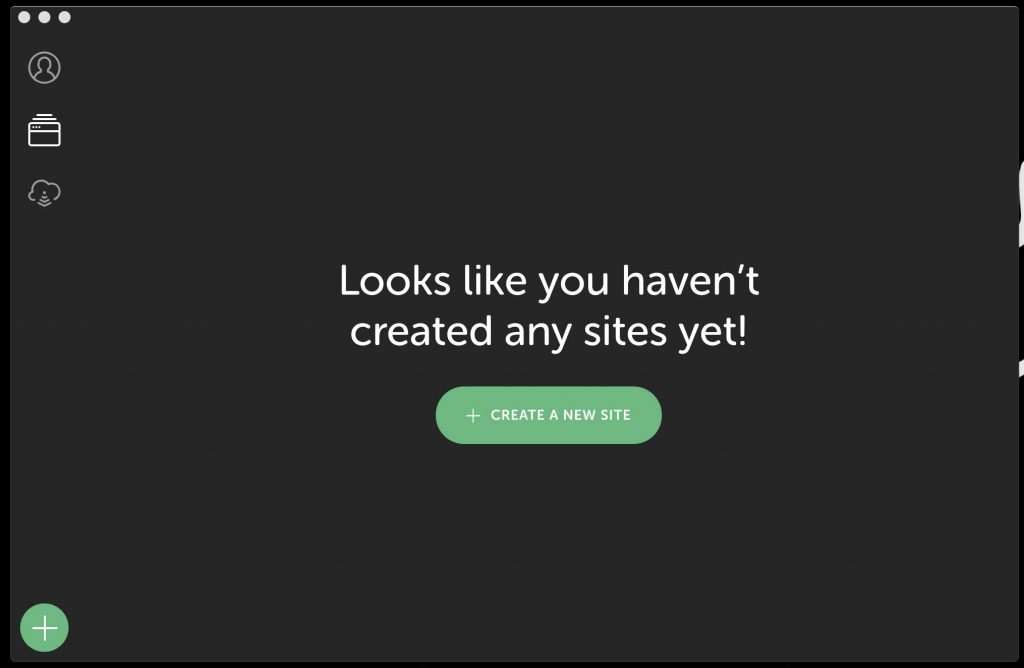
Now that you have the application installed it’s very simple to create a new WordPress installation. Since you have just installed the software and have no sites set up it will give you a screen asking you to create a new site. Click on the “create a new site” button.
You will be prompted to enter a site name. I will use “test” as my site name. Enter your name then click on the “advanced options” button.
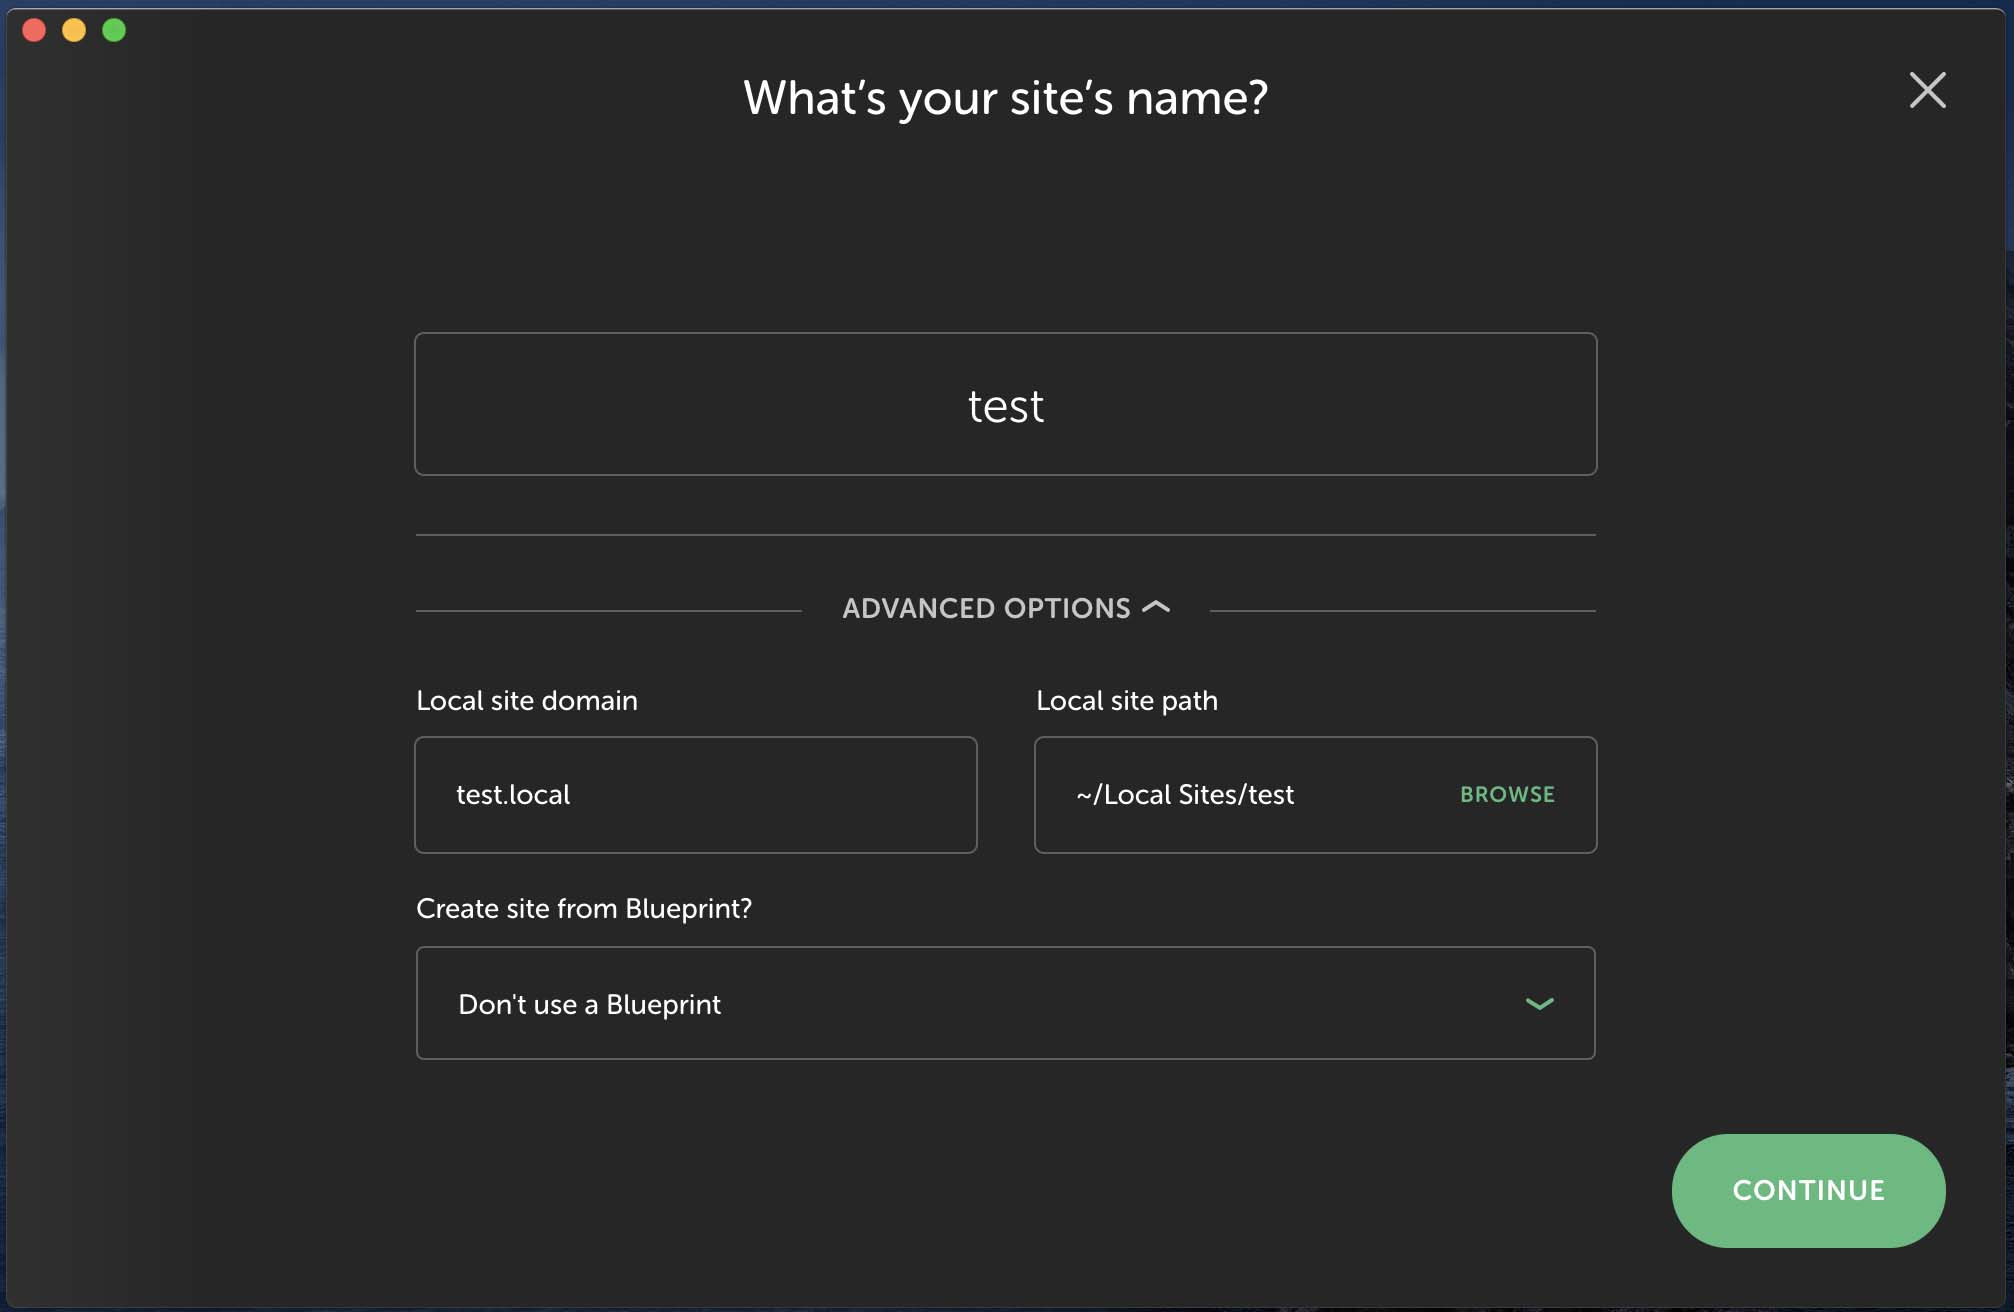
I’m going to leave the advanced options set to the default but I wanted to show you that you can change a few things. First, you could change the local site domain. This is the hostname that you will use on your computer to access the site. So in the browser, you will type test.local and your site will load.
The next thing that you can change is the local site path. This is just the directory where all of your files will be stored. I will use the default.
Click on the “continue” button.
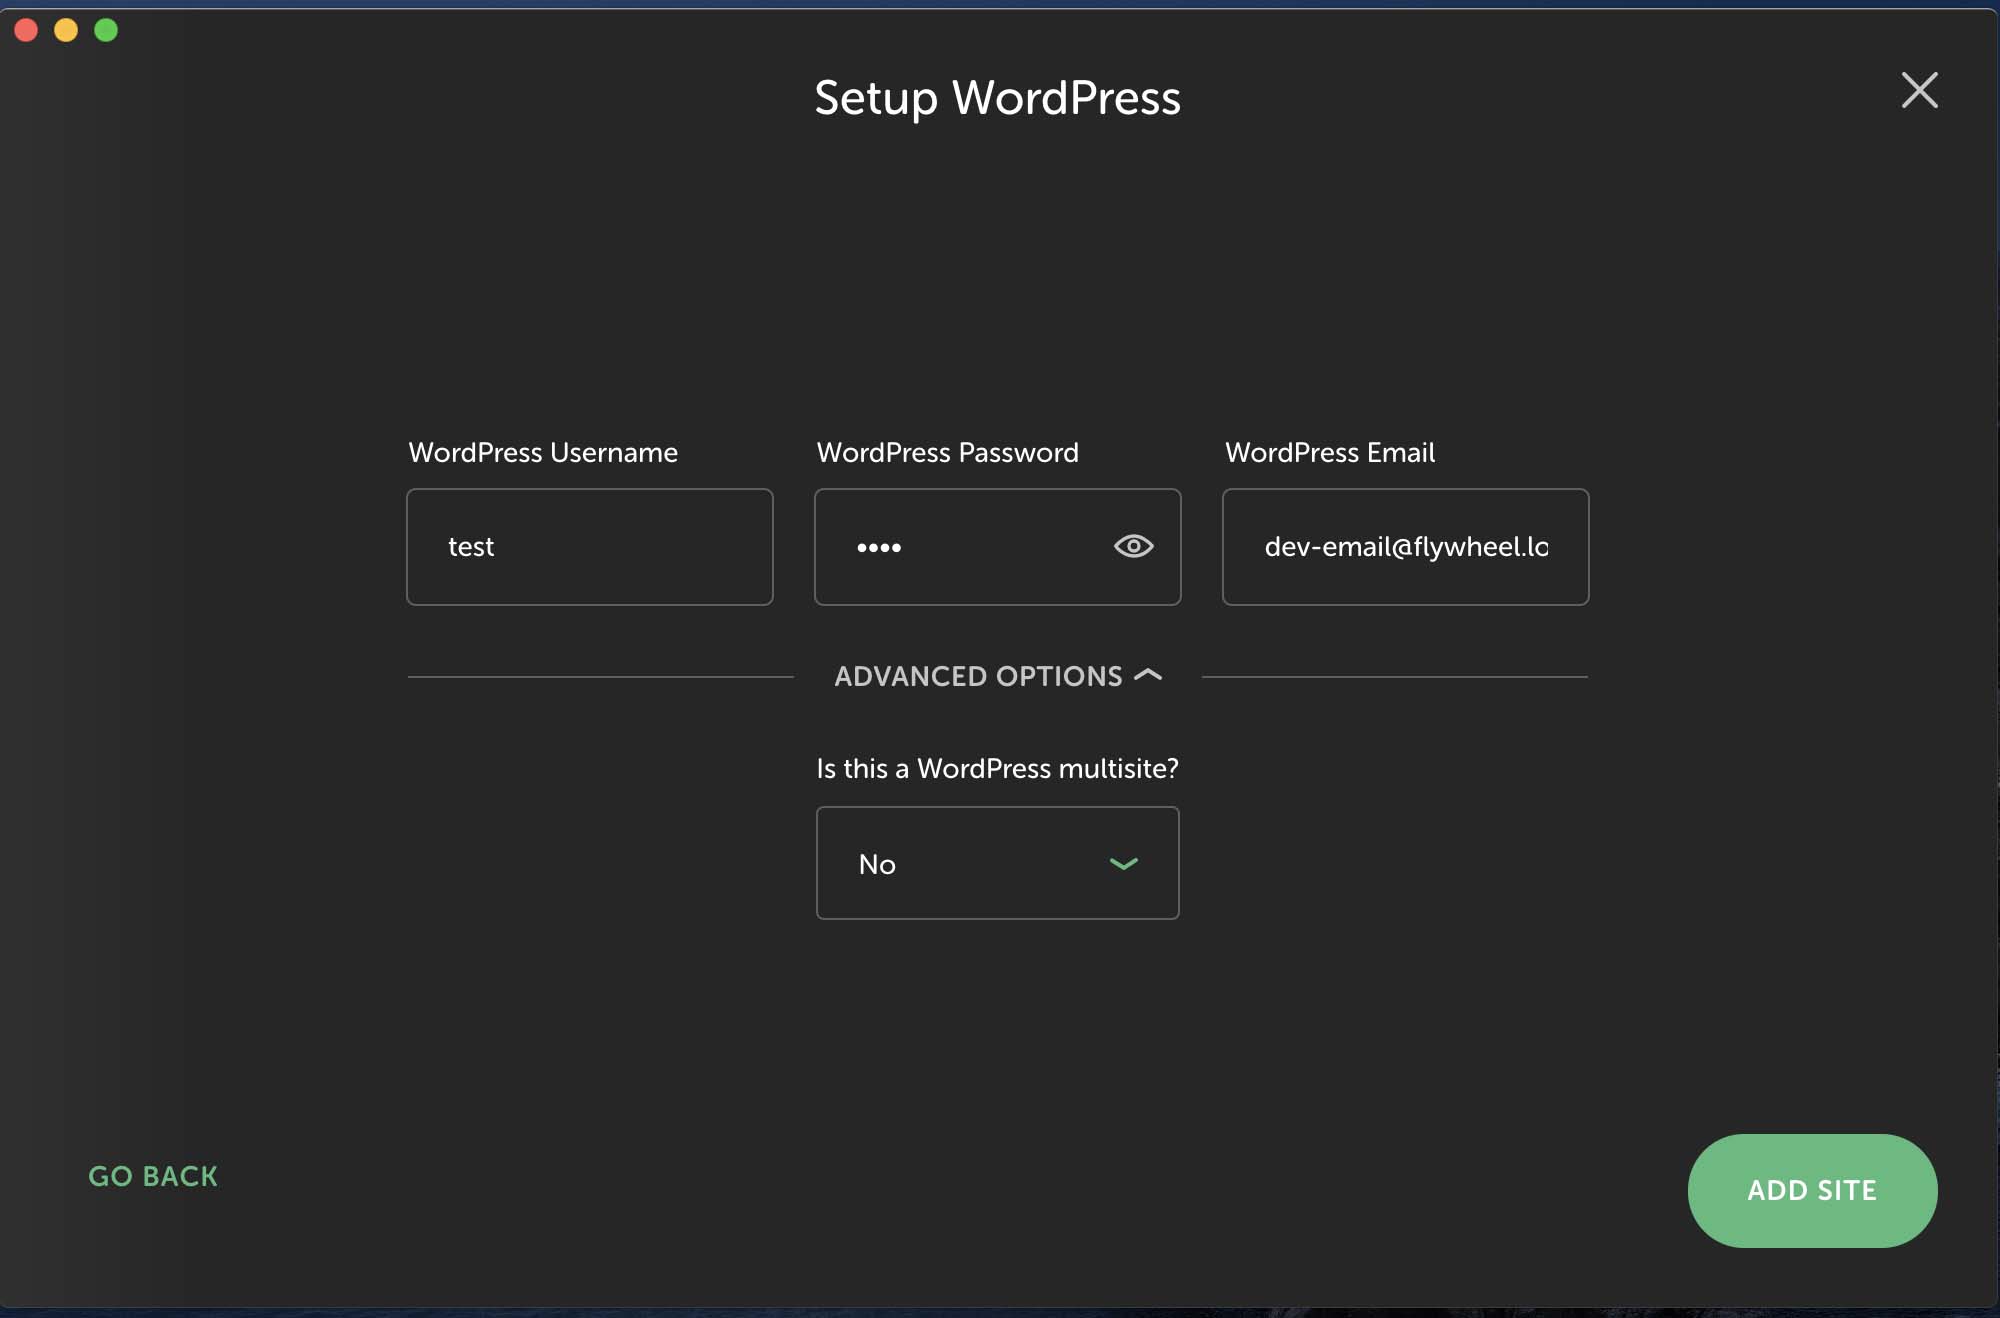
Next, you will enter the username and password for your local WordPress user. I will use “test” and “test“. Then you could change the email address but I will use the default. Optionally, you could install WordPress MultiUser if you wish. We just want WordPress so we leave that option as “no“. Click on Add Site.
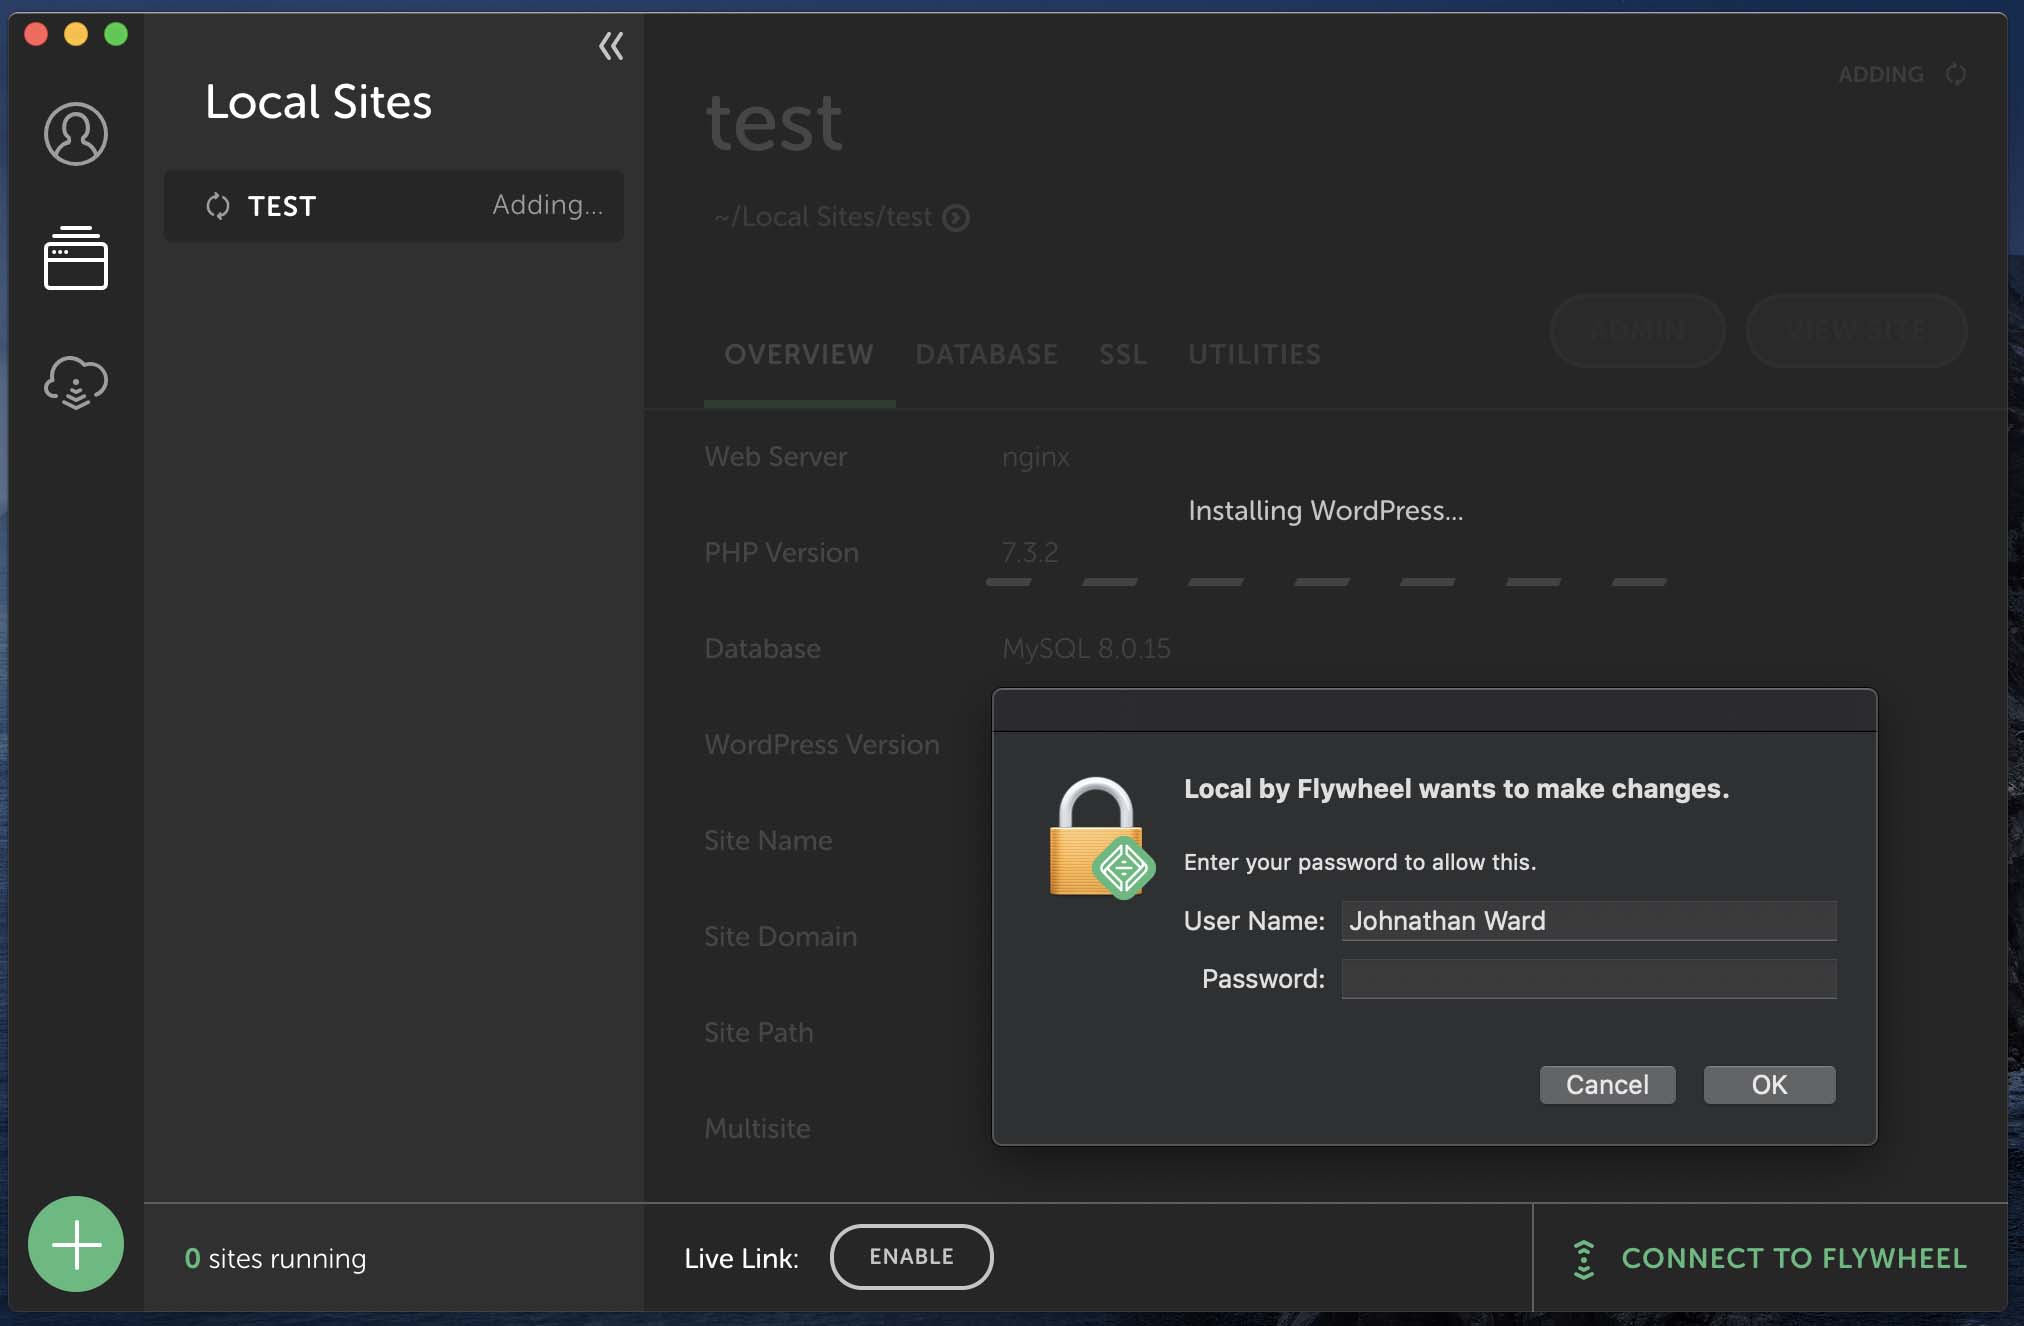
Local will go through and set up your site. You may be prompted to enter your password for certain steps in the installation process.
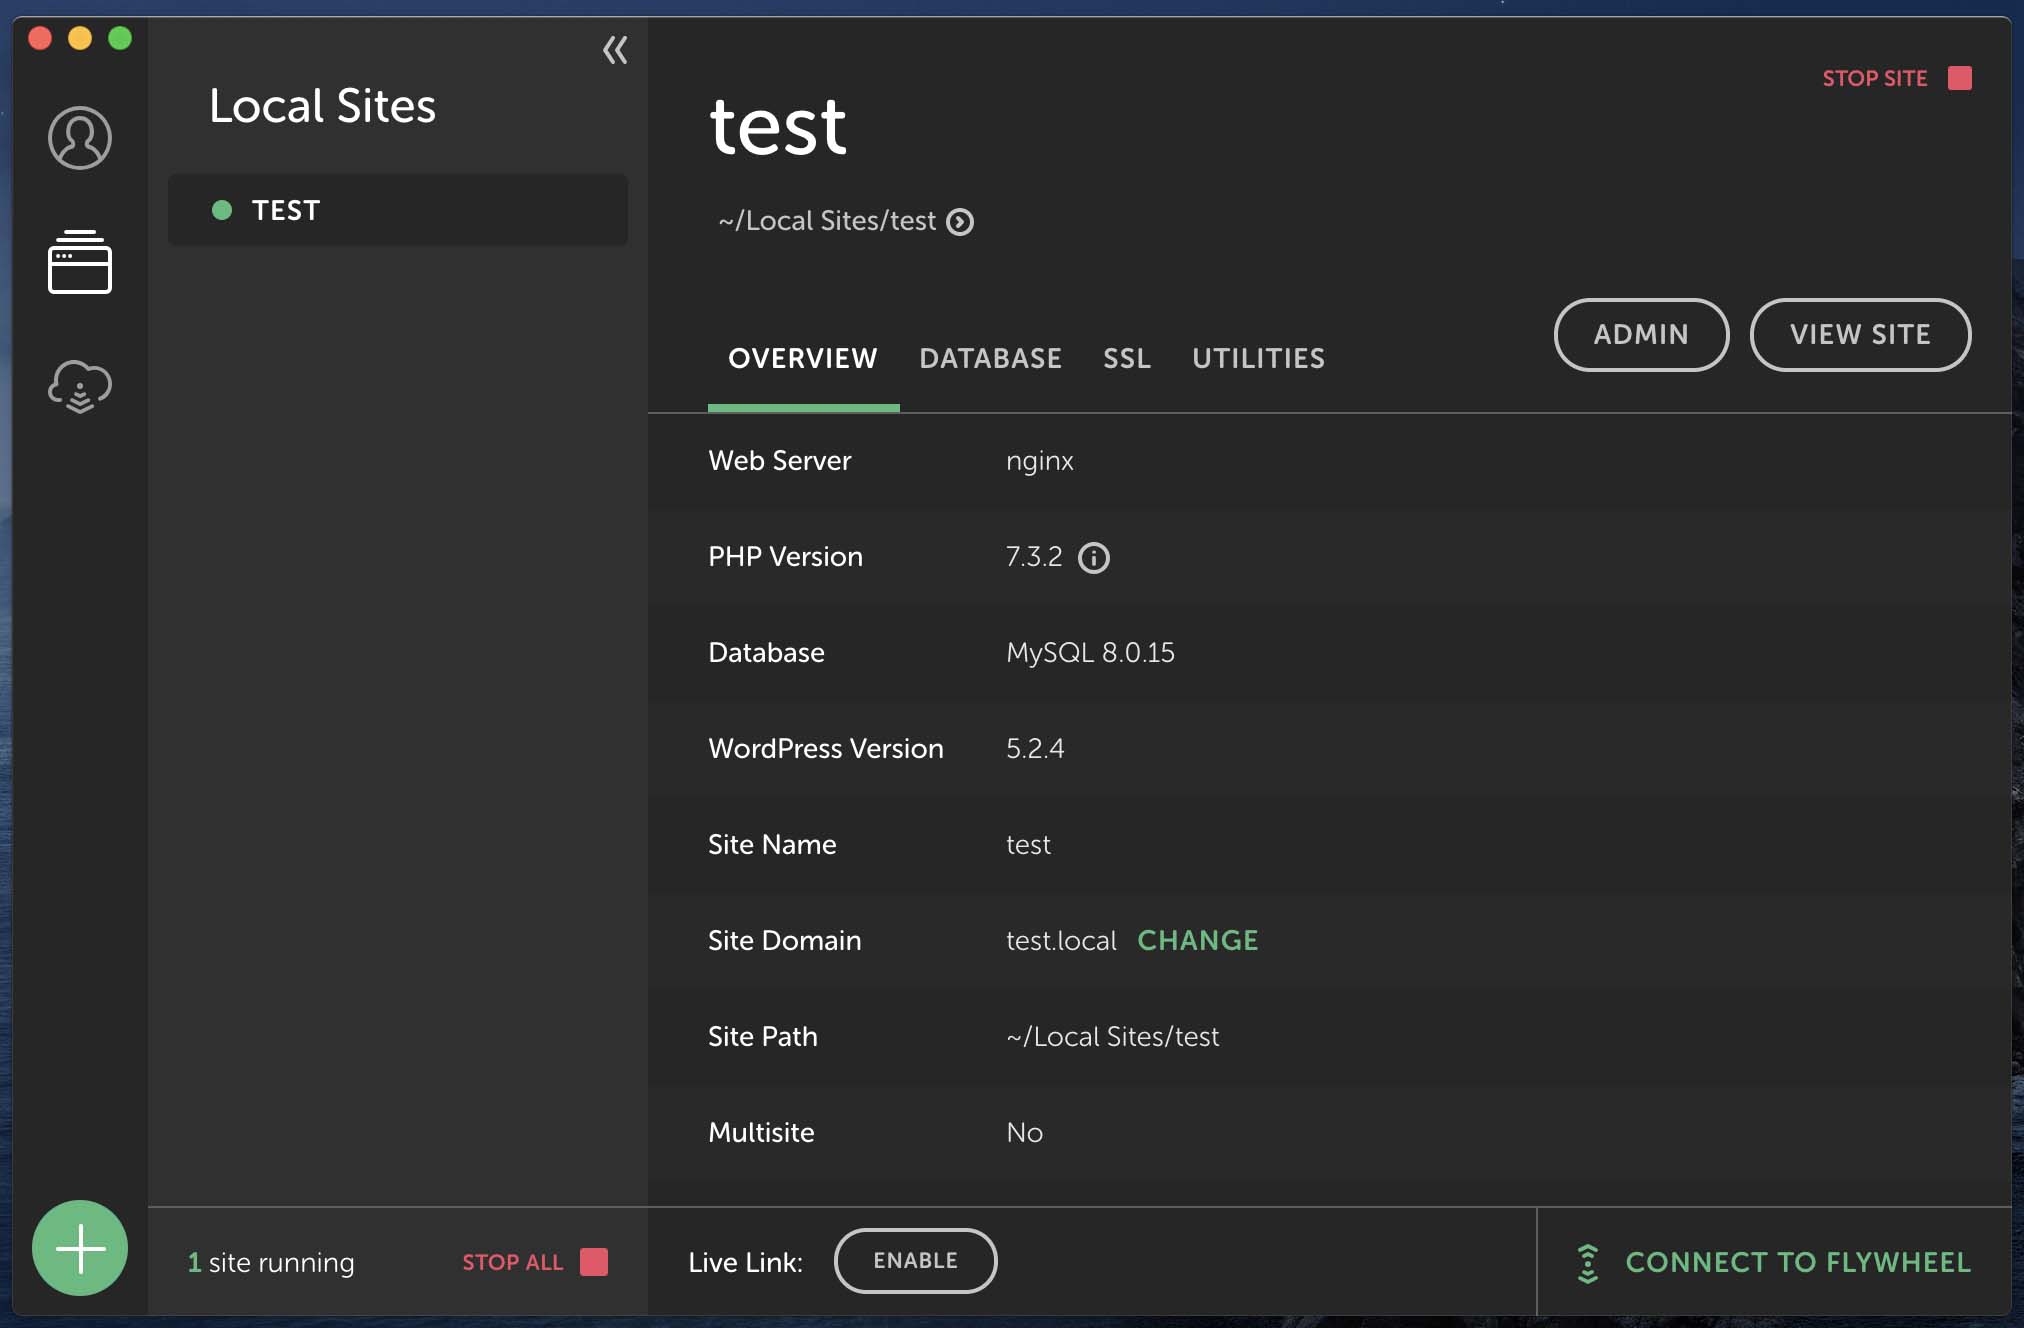
When the process finishes you will see the overview screen. At the bottom left you will see that you have 1 site running. This means all of the servers are up and running for our test site.
Take a look at the database tab. This gives you information about your local database for this specific site. You will see two links on this page “open adminer” and “download sequel pro“. You can download the Sequel Pro client to access the database in a nice GUI SQL tool. Adminer gives you a nice web-based user interface to interact with your database.

Click on the “View Website” button on the top right of the screen. This will launch your local WordPress site in the browser.

That’s basically it. You’re ready to do your local development on the WordPress site. You can access the admin screen by browsing to test.local/wp-admin or clicking the “admin” button in Local.
Sharing Your Development Site on the Web
One other nice thing about Local is that it has ngrok built-in. Ngrok allows you to get a quick domain name that points to your local environment so that you can share it on the web. This should not be thought of as a way to host a production site but it can be very useful to share a development site with a client for some temporary browsing. To do this just click on the “enable” next to “live link” on the bottom center of the window.
Once you click on the enable button you will get a link that you can share with your client.

Conclusion
Today we showed you how to set up a WordPress development environment using Local by FlyWheel. I hope you found this tutorial useful. Please leave a comment below if you have any questions.